1. First I started with the flower just swinging in the air like the rest of the shots I did with the flower just to see what was the best way to get the shot. But when I saw I was not getting the results that I was looking for so I had to show what I was doing to my teacher and then he came around and helped a lot.

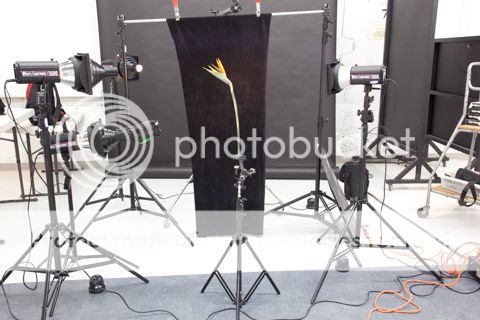
2. So we clamped the flower (good thing the stem was very thick and wouldn't break). And I had it hanging up on a boom with black thread so that way it would stay in place. Next we positioned 4 lights with snoots attached to them in a specific spot so that way we would be getting the perfect lighting on the flower.

3. Next we shot to make sure that the lights that we positioned were at the spot that we wanted which it turned out to work out perfectly when each light. One light was coming in from the back just to light the inside of the flower and to give a bit of rim lighting to the edge of the stem.

4. The next light was a bit of filler to give the flower more light and making sure the light wasn't too bright.

5. The next light was the last light to get the whole flower in light with the rim lighting on the other side to make the whole flower look good.

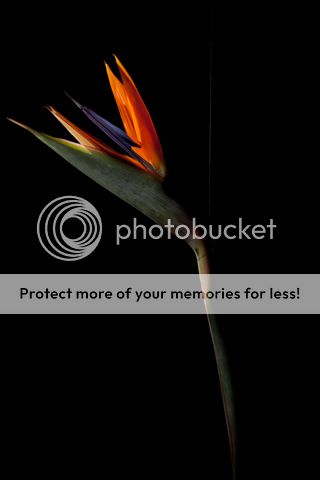
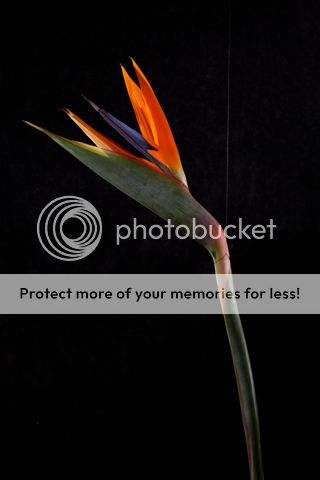
6. I never submit a photo without a little Lightroom, and Photoshop if it is needed. But since my photo came out a bit too hot, (red and yellow) I decided to make the colors more to what the flower really looked like. So with a bit of help from Lightroom I changed the colors, and then in Photoshop I took out the thread and I touched up some of the spots that were on the flower, and Voila! A beautiful shot of flower.

I hope everyone enjoys my mini tutorial on how I did this shot!


