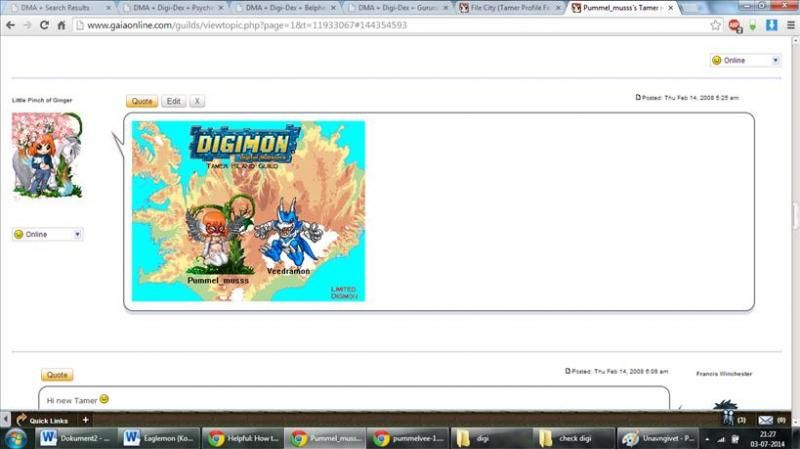

In this guild, you will often have to post images, both on your profile and in the Digivolution Shop.
If you do not know how to use photobucket yet, this guide, is for you!
All you need do is follow the steps below:
_______-----___________----___________------______________
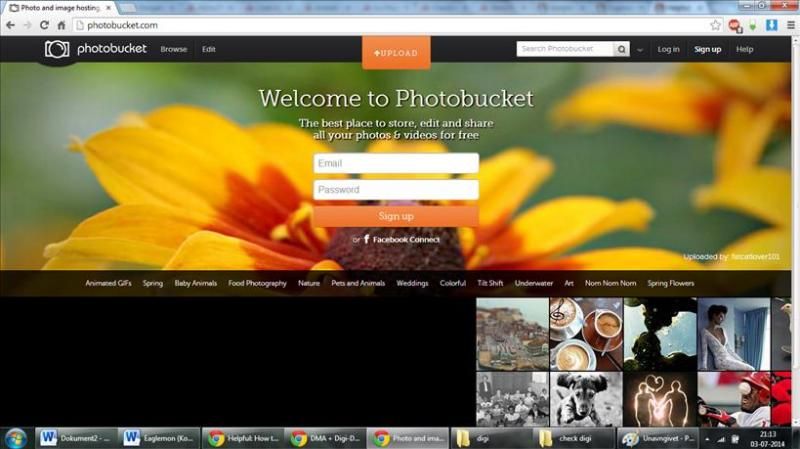
1. Go to the Photobucket website here and log in.
If you do not have an account, then create one - It´s easy, it´s completely free and they won´t send you any spam-mails
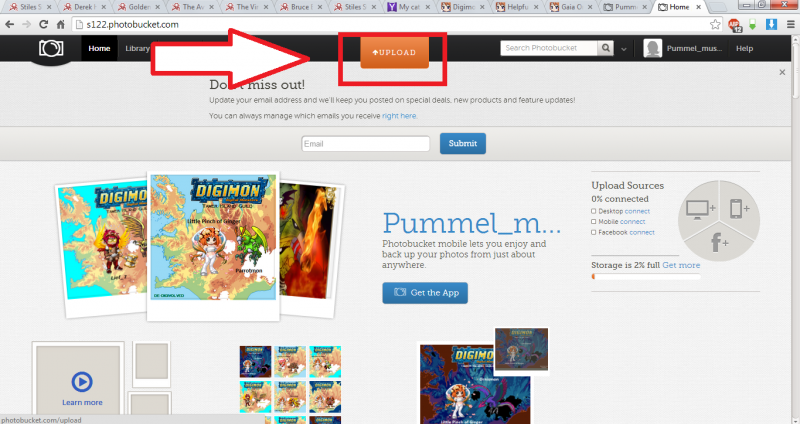
2.
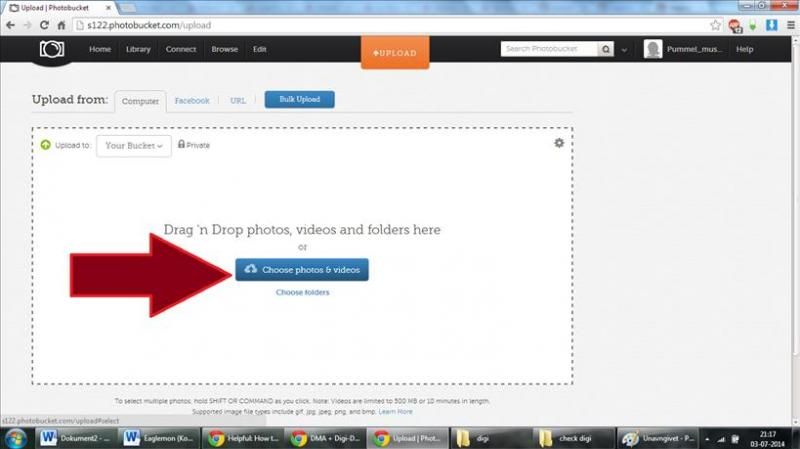
There should now be a big, orange button at the top of your screen with the text "upload", click it!
Alternatively, you can press "library" in the top left instead and then afterward, when in your library, press the grey square that says "Drag Photos here to upload"
3. Okay, now you can upload.
When in "upload mode" you can either press the massive blue button in the middle that reads "Choose Photos and Videos" or you can just open a folder on your laptop and drag your images from the folder, onto the Uploading screen. Very easy, and very nifty!
For those of you who pressed the button proceed to the next step, for those who would rather "Drag and Drop", go to step 5.
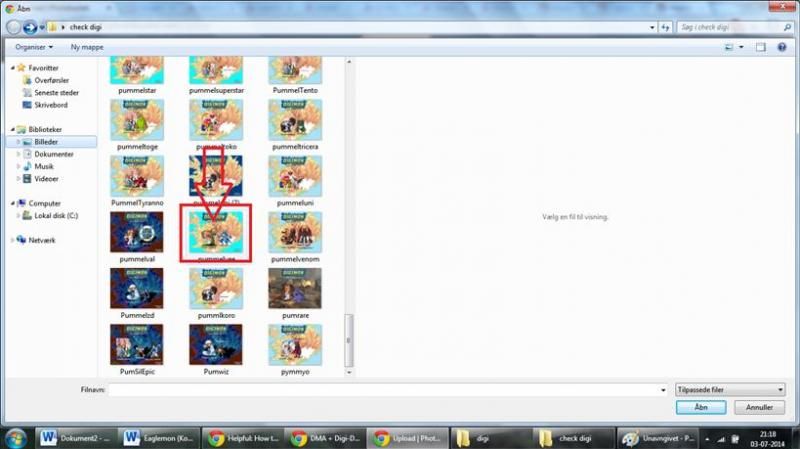
4. So you pressed the big blue button huh?
Well here is what happens next!
A pop-up with your desktop contents will appear, and now, you navigate to the folder where the image/images you want to upload are. Press the image you want to upload, and then either double-click it, or click on it so that it is highlighted, then go down to the left corner and press the box that reads "open"
If you want to post more than one images, you can highlight one image, then hold down the shift key and chose an image further down. Now all the images between the first you pressed, and the last, will be highlighted, and you can upload them all at once by pressing "open" in the left bottom corner
5. Good job!
Now go to the button in the top left of the screen that reads "library" to, well, go to your library
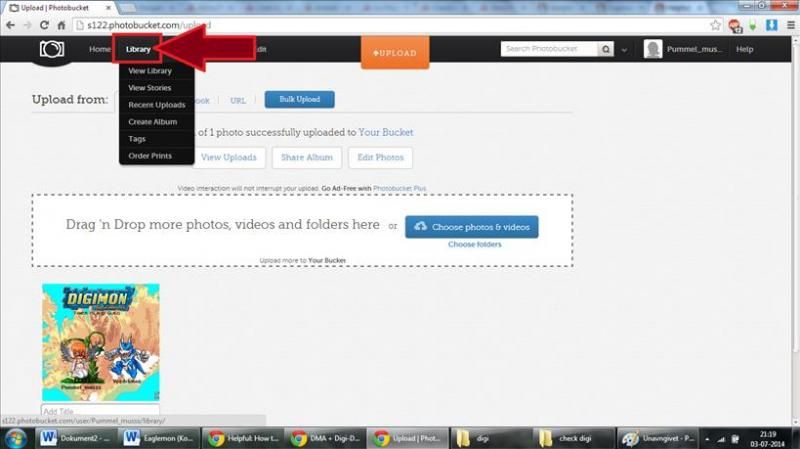
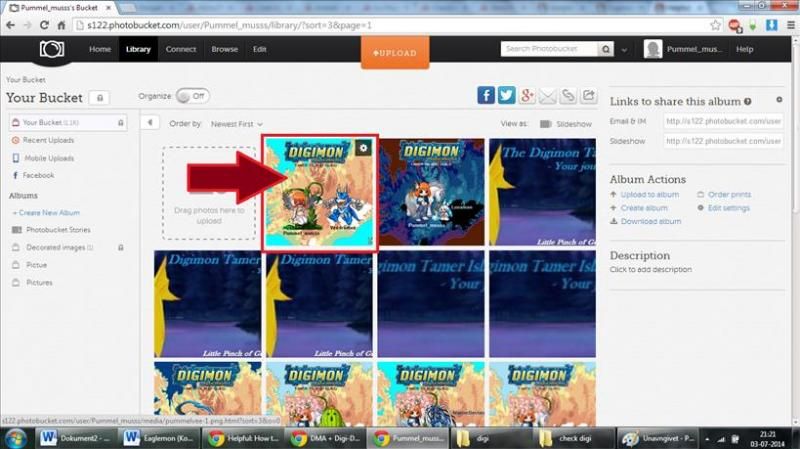
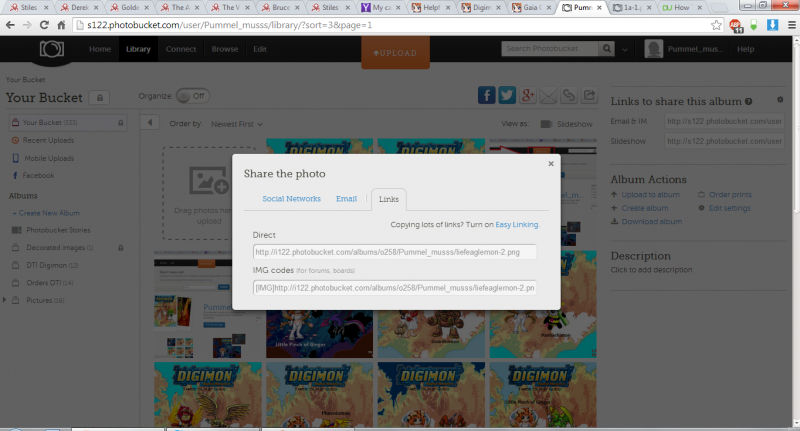
6. Your image is now uploaded!
Your image will appear as the first in a long row on your page. Hover your mouse over the image and a little grey button with a gear symbol will appear at the top right corner of the image. Hover your mouse over the gear and a little drop down menu appears. On the list, click "Get Links"
7. The Links will appear.
Click inside the text-box of one of links, and the entire line will copy itself automatically, with just a click of your mouse.
Clicking the "IMG" will give you a code that makes the image appear as a regular image when you post it on gaia or any other website. Copying the "Direct" box gives you a direct link to this exact picture in your photobucket library
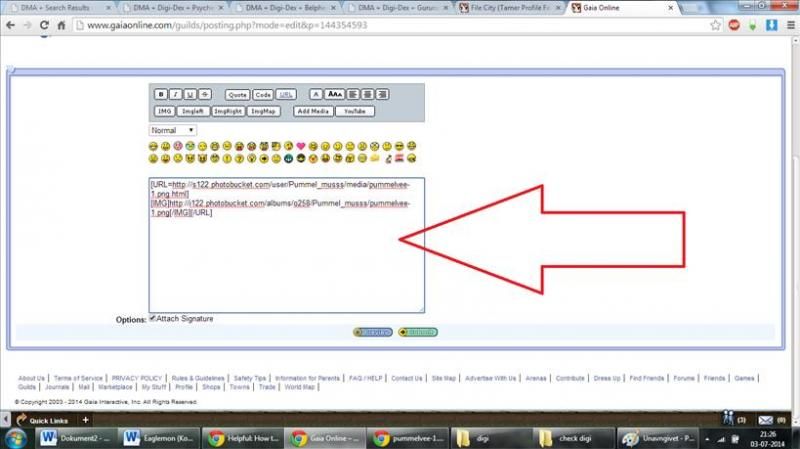
8. Insert your image.
Go to a Gaia post and press Ctrl + V, to paste your image link.
If you want to insert an URL so people can go to the page where the image is, you just copy the "Direct" from one of your photobucket images, go to the button at the top of the Gaia post menu that reads "URL", then insert first the link, and next how you want it to appear, like this
9. Post your post, and you are done!
Congratulations my friend