
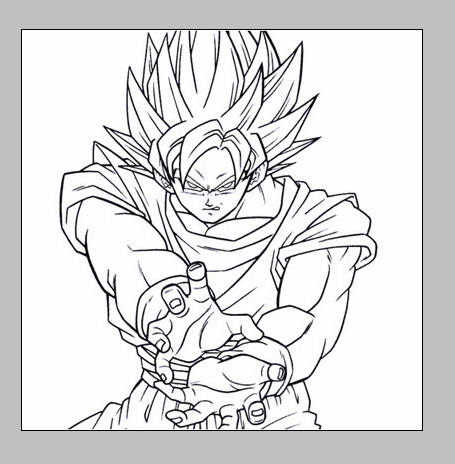
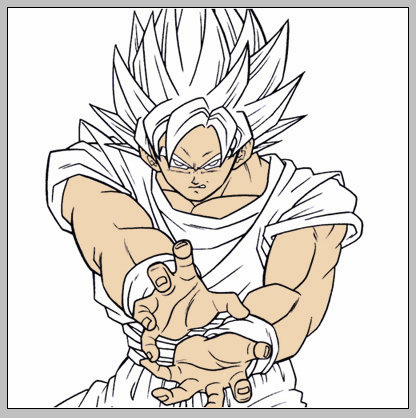
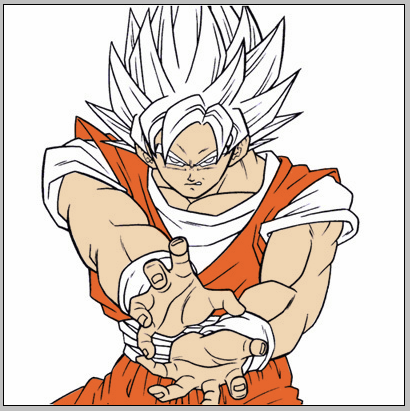
O.k lets get started,first open the the image you want to color I'm going to use this pic of Goku for this tutorial.
Next we're going to make our flat image into a layer,we do that by going to the "Layer Palette"here
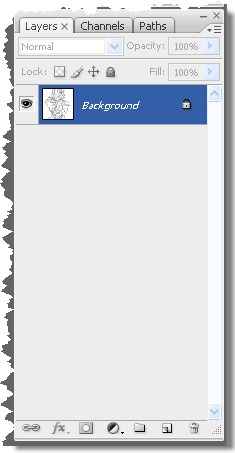
then double click your image in the layer palette and this dial log box should pop up
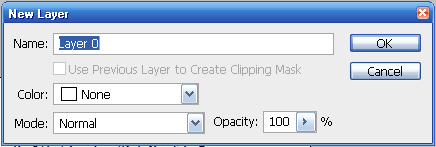
then click OK,the image in the layer palette should look like this
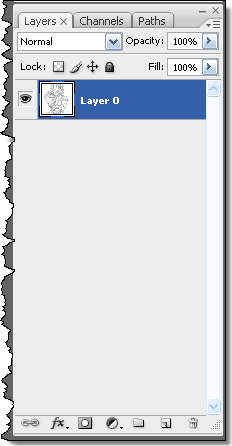
Note:(If you open your image and it says "layer 0" in the layer palette already you can skip ahead to the next step)
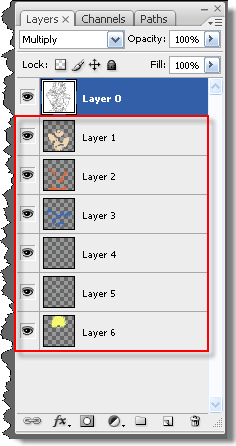
Next we need to make a new layer,but first we need to change the Blending Mode for our image layer,the blending options can be found layer palette(It's highlighted in green in the image below)
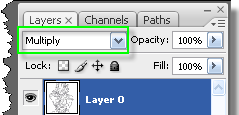
click on it and a scroll menu will pop up,now choose "Multiply" from the menu and that's it for our image layer,now on to the next layer.
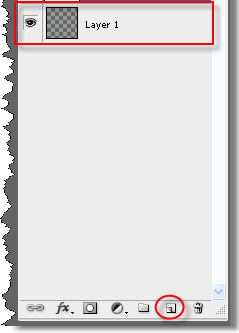
To make a new layer all you have to do is click on the Create a New Layer button at the bottom of the layer palettes,(highlighted in red in the image below)
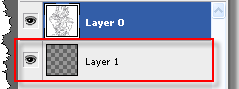
when ever you make a new layer it will appear above the image,but in our case we need it below the image,so in the layer palette click and drag our new layer below the image layer,it should look like this when you're done.
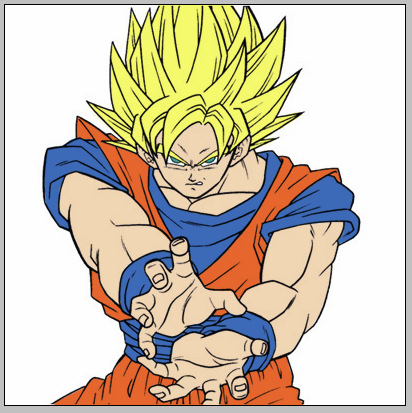
Now it's time to color,first select your new empty layer,then pick what part of the image you're going to color, then get your brush tool and start coloring(I started with the skin color first)
when you're done coloring the part you had selected you can move on to the next part you want to color but before you do that you need to.....that's right make a new layer then you can do this
In the end everything should look like this
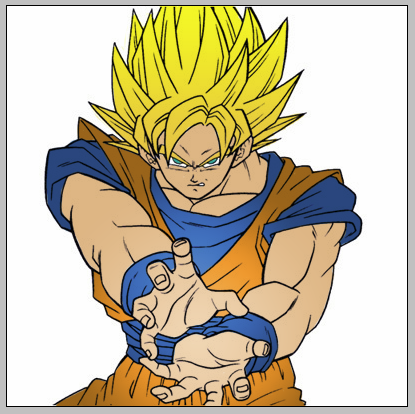
make sure that each colored section should have it's own layer,and that's it all that's left is to flatten the layers to make it one image again.
And if you play around with the layer styles your image could look like this.
(Disclaimer)I used Photoshop CS3 in this tutorial,so I don't know if this method will work with any other programs.
If anyone one has any questions leave a comment or PM me.
and if like to see any of my other pics you can see them on my profile.
Thank You and Enjoy
